
Antenna assembly
The set-up, an exciting three-part story!
You can plan as well as you like, check the material, prepare everything as well as you like, but in the end Murphy sets the schedule!

Parts collection...
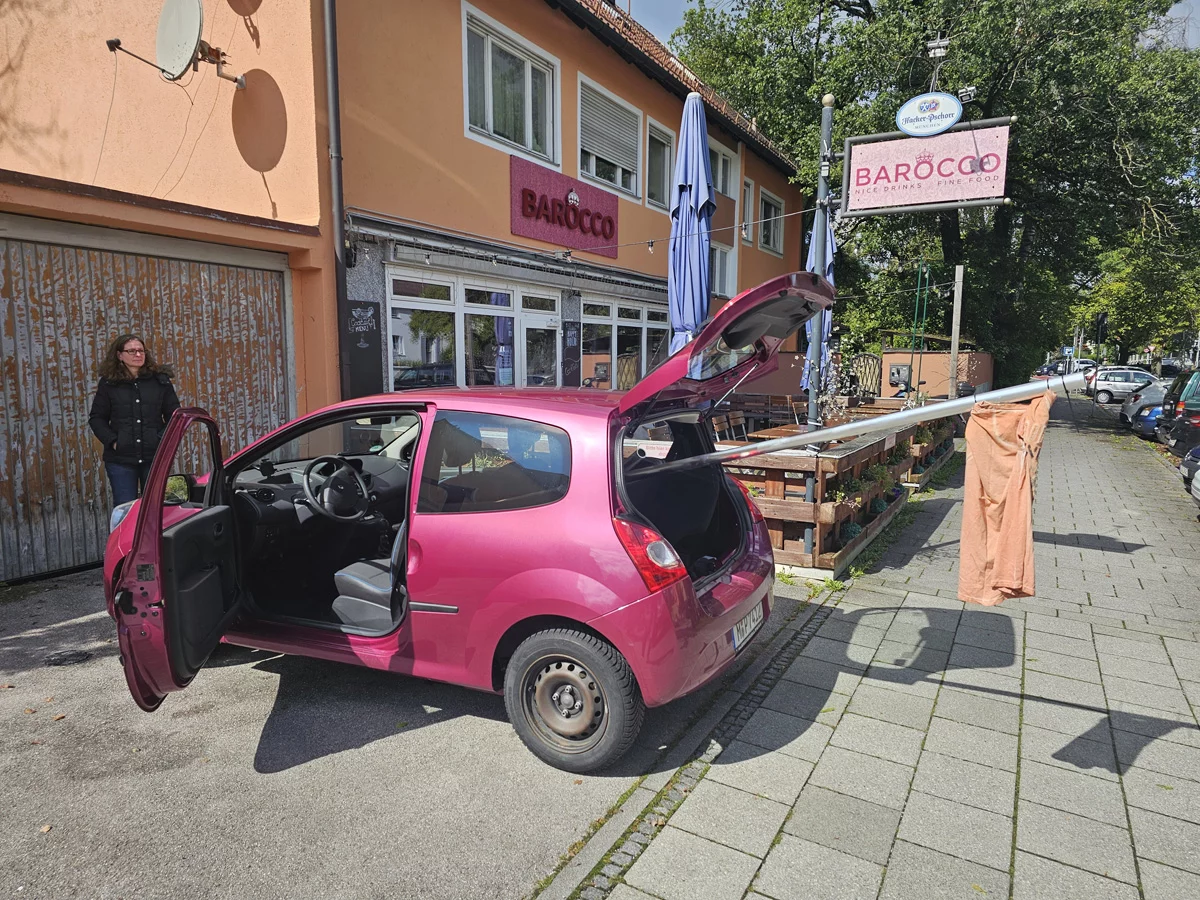
5m pipe also fits in Nadja's Twingo!

The planning and all possible preparations were done when we (Hagen, Chico, Michi) started early and in a good mood. It was actually quite simple, just move the existing mast by 3m. Then assemble the beam on the ground, screw it onto the rotating tube and hoist it onto the roof with a cherry picker.
We were well on time and the beam came with the shipping company and what could be so difficult to set up? Nothing really! My ass...
The material is high quality, which is perfectly fine, but the
documentation leaves a lot to be desired. So that was the first
problem.
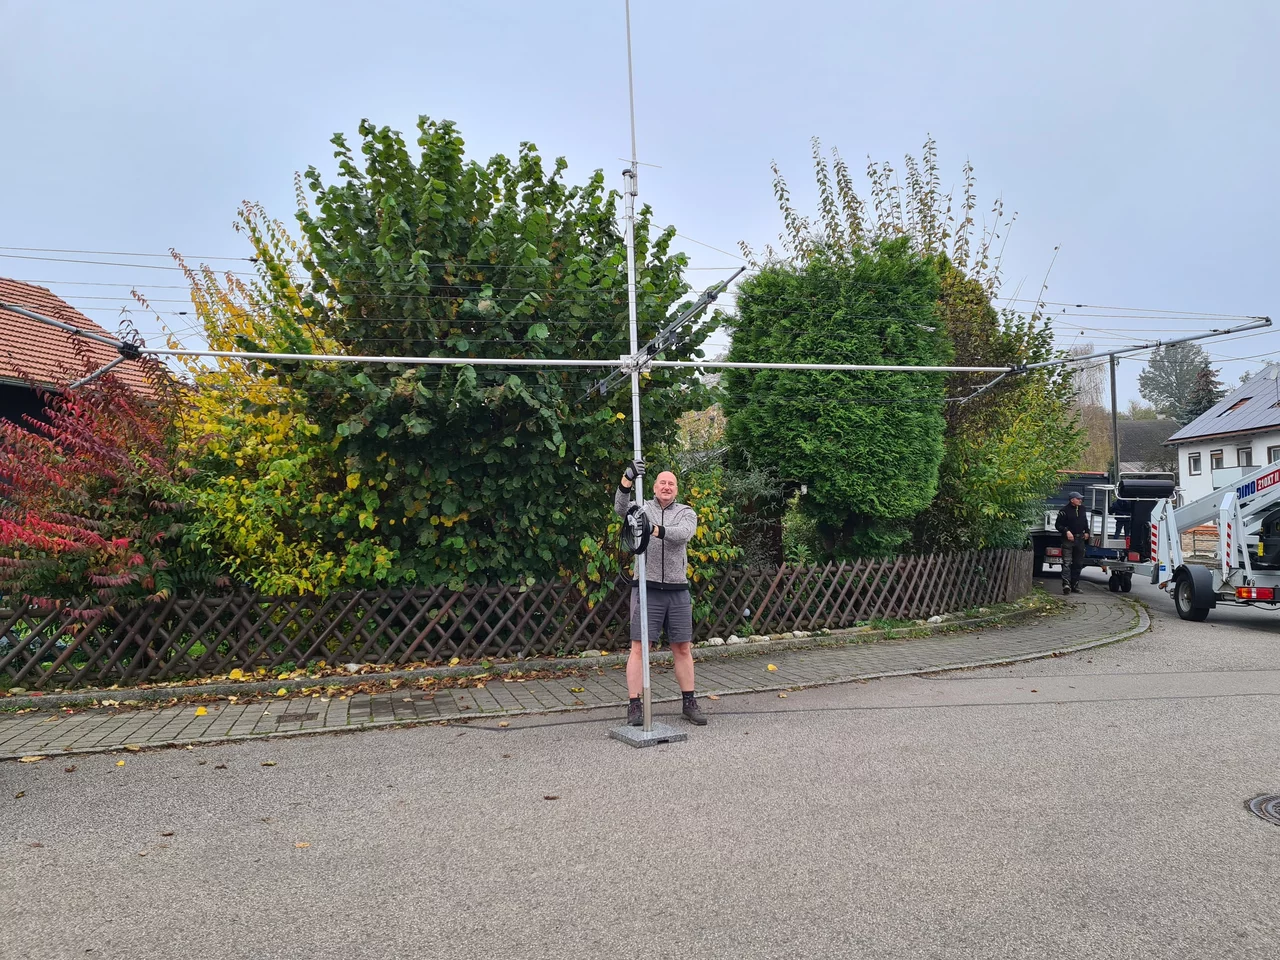
The assembly went ahead and at some point the beam was in the
driveway, it didn't look too bad.
But when I lifted it, it folded and stretched like an umbrella,
the wires no longer on the same level. Big bummer! Then a
slight feeling of unease and helplessness, looked at pictures
on the Internet. No help, check everything again but it
“actually” fit.
Abort because the beam couldn't get onto the roof.

No stress, delicious Weisswurst with Michi, Hagen and Chico.
Second attempt!
Everything checked again, ropes and springs re-tensioned and it
looks very good on the ground again. Checked everything with
Nadja in the evening in the light rain and finished in the
dark.
When lifting the next day, the same problem, not as strong but
not as it should be.
Aborted until the fault was found.
Third attempt!
Everything was measured again and everything matched the
instructions!
So the instructions were wrong!
That's how it was, two side ropes were too short and created
too much tension.
In addition, the “Y-piece” was probably changed, which could
not work as the POM plate was too thin and bent.
Once these faults had been rectified (see improvements), the
beam was mounted on the rotating tube and this time it was
perfect! All wires on one level, that's how it should be.
The beam was then able to climb onto the roof with the cherry picker.
Oh it was fresh, 5 degrees, drizzly...
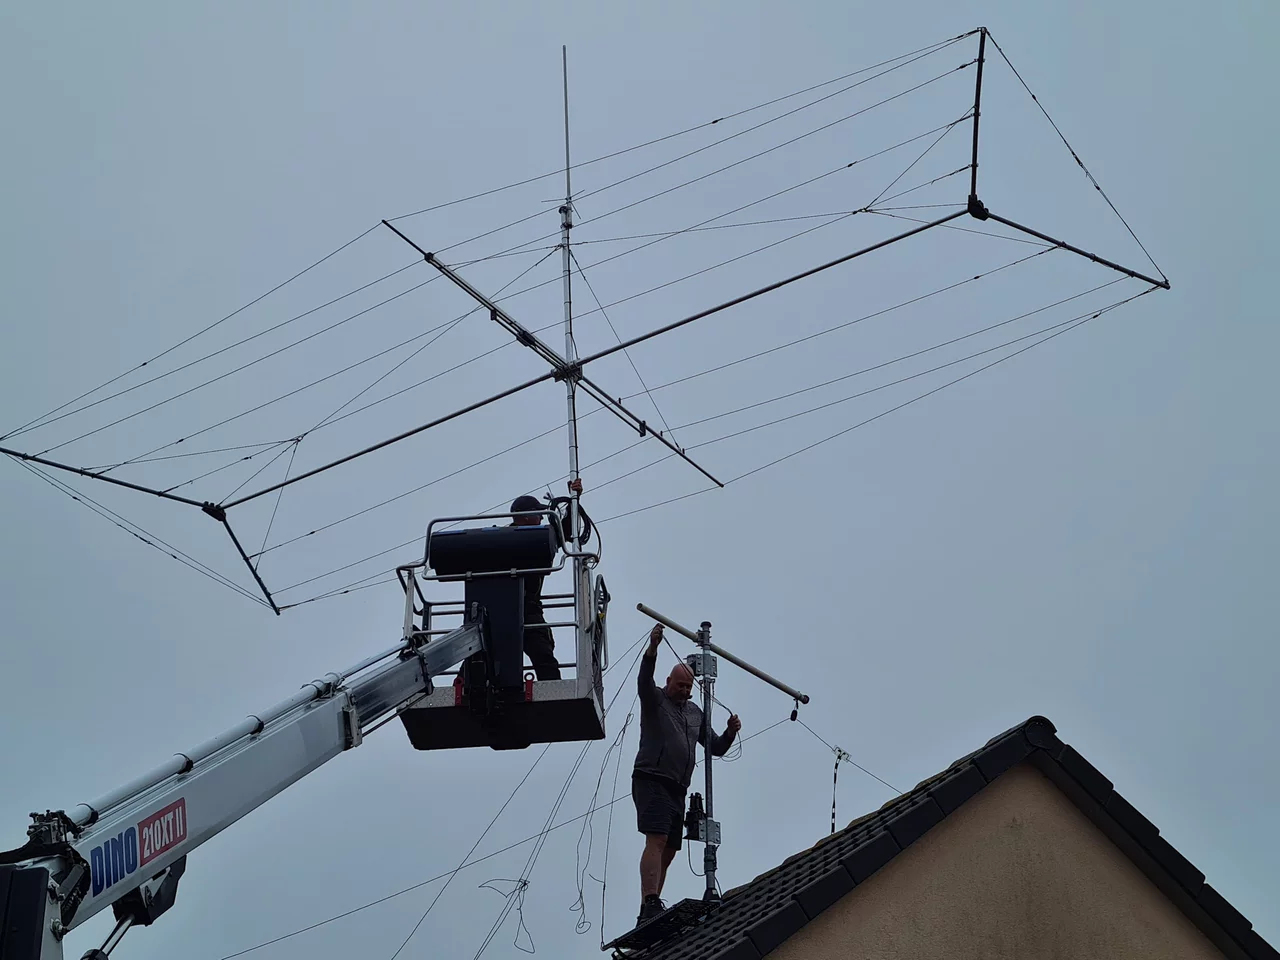
Hooray here comes the beam, quickly distribute the guy ropes.

Now only through the upper bearing into the rotor.

Finishing the rotor loop and then pushing up the sliding mast was a feat of strength.

There is the good piece in front of a bright blue sky!
Many thanks to Chico, Michi, Hagen and of course Nadja who agreed to my plan with the beam on the roof and also actively supported me with the set-up and preparations.